| |
 |
 |
 |
 |
P-F
|
 |
applause for Bill's enterance
|
 |
J-J
|
 |
Ok, everybody, here goes. If you start talking now the Tutor will tell you to "Be Quiet"
|
 |
BILL
EPPS
|
 |
This was shown to me by Mike Jacik at Richard Ross's hammerfest back in 1986.
|
 |
 |
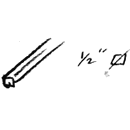
Figure 02 |
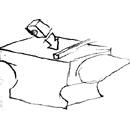
Figure 03 |
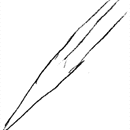
Figure 04 |
 |
BILL
EPPS
|
 |
We start out with a piece of 1/2" square (It can be made out of ANY size Stock). Draw a long taper on the end, hammering on two sides and working at the Off Side of the Anvil.
|
 |
 |
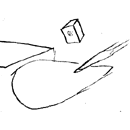
Figure 05 |
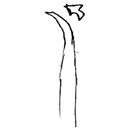
Figure 06 |
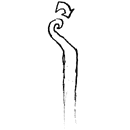
Figure 07 |
 |
BILL
EPPS
|
 |
I curl the tapered end and then make an offset, with another curl. This is going to make the Wizard's hat.
|
 |
 |
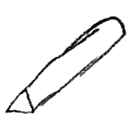
Figure 08 |
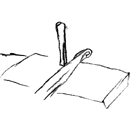
Figure 09 |
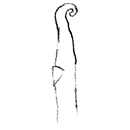
Figure 10 |
 |
BILL
EPPS
|
 |
After I curl the hat and put the wave in it, we use a 3 sided punch to make an impression starting in the center and tapering outward. This depression is where the eyes will end up going and also makes the side of the nose.
|
 |
 |
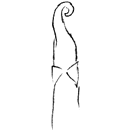
Figure 11 |
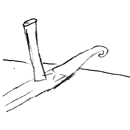
Figure 12 |
 |
 |
BILL
EPPS
|
 |
With the piece good and hot, using the 3 sided punch, you make 2 impressions, one on right and one on left, about the same depth (about 1/3 the material thickness).
|
 |
 |
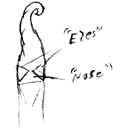
Figure 13 |
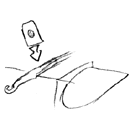
Figure 14 |
 |
 |
BILL
EPPS
|
 |
Now using the straight side of the punch, I set down the bottom of the nose. After I have a mark there that I can feel, I come to the sharp edge of the anvil, using a Half-Face Blow, and set it down. This will raise the nose up.
|
 |
 |
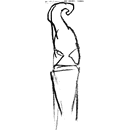
Figure 15 |
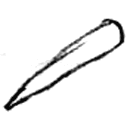
Figure 16 |
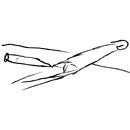
Figure 17 |
 |
BILL
EPPS
|
 |
Now we start adding the details to the face. First thing, we want to raise the nostrils using just a regular center punch, coming in at about a 45 deg. angle and punch the nostrils on each side of the nose.
|
 |
 |
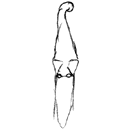
Figure 18 |
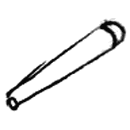
Figure 19 |
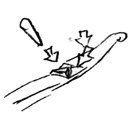
Figure 20 |
 |
BILL
EPPS
|
 |
After we have punched the nostrils, the we use an "Eye Punch" to punch the eyes, obviously on each side.
|
 |
 |
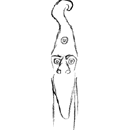
Figure 21 |
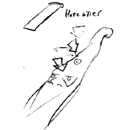
Figure 22 |
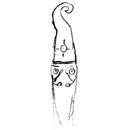
Figure 23 |
 |
BILL
EPPS
|
 |
I also put a little round mark, using the eye punch in the center of the hat, then use a hot cutter to put 4 lines criss-crossed to look like a star.
|
 |
 |
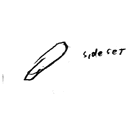
Figure 24 |
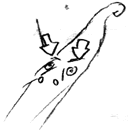
Figure 25 |
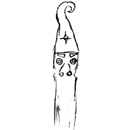
Figure 26 |
 |
BILL
EPPS
|
 |
Then I use a small "Side Set Punch" to make him some eyebrows.
|
 |
 |
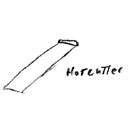
Figure 27 |
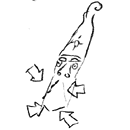
Figure 28 |
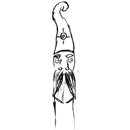
Figure 29 |
 |
BILL
EPPS
|
 |
I also put a line above the eyebrows to separate the hat from the forehead with the hot cutter. Now we are ready to make his "Mustache". I come from the center of the nose outward at an angle, and make a line w/ hot cutter. (This is where we will come back and cut it LATER). From the line
outward, I put some marks which will be the hair in the Mustache.
|
 |
 |
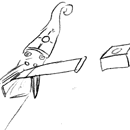
Figure 30 |
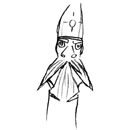
Figure 31 |
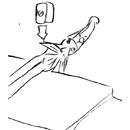
Figure 32 |
 |
BILL
EPPS
|
 |
We take a good heat, with a good sharp hot cutter we cut the mustache. Starting at the bottom outside, and cutting inward at an angle. After you do this on both sides, you take the hot cutter making 2 small cuts at the bottom of what will be his beard cut at angle like I show. Then using the hot cutter make some light lines to make hair on beard.
|
 |
 |
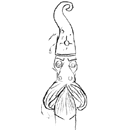
Figure 33 |
Figure 34 |
 |
 |
BILL
EPPS
|
 |
After you cut the mustache off, the ends of the mustache will be very sharp, so you heat it up and turn these sharp points inward so that they won't stick in someone's hands, and to give the mustache the curled effect.
|
 |
 |
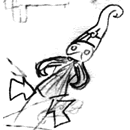
Figure 35 |
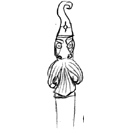
Figure 36 |
 |
 |
BILL
EPPS
|
 |
Using a side set punch, I separate and define the bottom of the Beard from the rest of the piece.
|
 |
 |
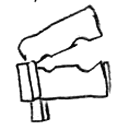
Figure 37 |
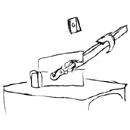
Figure 38 |
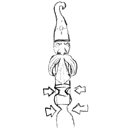
Figure 39 |
 |
BILL
EPPS
|
 |
Now that we have the head finished, I will use my guillotine fullering tool to separate the head or handle from the blade in two places about 1/2" apart.
|
 |
 |
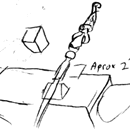
Figure 40 |
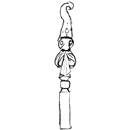
Figure 42 |
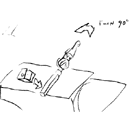
Figure 41 |
 |
BILL
EPPS
|
 |
Now we are going to start making the blade. I cut the stock off about 2" long. We taper it on two sides, leaving it still 1/2" thick and the sides tapering down to nothing.
|
 |
 |
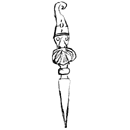
Figure 43 |
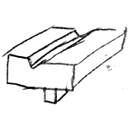
Figure 44 |
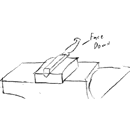
Figure 45 |
 |
BILL
EPPS
|
 |
After I have it tapered down, then I go to a "V" swedge and start shaping the blade into a "V". When doing this, you want to hammer it in the center, down in the swedge block, going from front to back, then work it from back to front. By doing it this way, it keeps the blade straight.
|
 |
 |
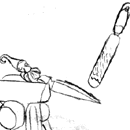
Figure 46 |
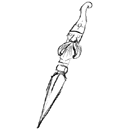
Figure 47 |
 |
 |
BILL
EPPS
|
 |
Then at a good heat, hot rasp the finish shape to the blade. (Makita grinder works real good for this too). After I have the finish shape on the blade, I put it back into the forge and heat the blade to get
it colored, then I apply bees wax and wire brush to get a nice sheen.
|
 |
 |
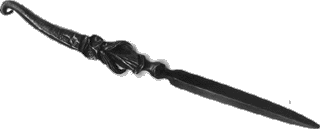
Figure 01 |
It should look something like this.
|
 |
BILL
EPPS
|
 |
Questions???
|
 |
TANNIS
|
 |
Thought of a simple way to give teh hat a brim?
|
 |
BILL
EPPS
|
 |
That's on the cowboy, but don't need a brim on this piece
|
 |
HIGLAC
|
 |
About how long did this take you?
|
 |
INDIAN
|
 |
What size stock did you use?
|
 |
BILL
EPPS
|
 |
To make one of these takes about 45 minutes out of 1/2" square stock. Larger stock takes a little longer.
|
 |
STEVE-C
|
 |
Bill, do you hammer the 'V' shape on both sides of the blade? if so how do you hammer the one side without messing up the other?
|
 |
BILL
EPPS
|
 |
The "v" swedge I have is made out of 1" X 2" by 3" long Hot Roll Steel w/a 1" hardy shank on it to fit my anvils.
Steve, I only put the V on one side of the blade. A letter opener (which this is) needs to be flat on the bottom, so it will lay nicely on a desk :o)
|
 |
BILL
EPPS
|
 |
When I make these in my shop, I use my power hammers and treadle hammer, and can make up about 2 dozen in 6 hours. However for a "Show Demonstration" doing it strickly by hand, it takes about 45 minutes each. Puts on a good show.
|
 |

